5 steps to resurface your driveway
A quality driveway not only looks good, it also increases your home’s value. So, what’s involved if you choose to resurface your driveway using Dulux Avista?
If your home exterior needs a boost, resurfacing tired concrete is a great place to start. You might have heard about Dulux Avista’s concrete resurfacing products, which have been designed especially for driveways and are more cost effective than ripping up and replacing an existing driveway.
Using Dulux Avista products, an experienced trade applicator can rejuvenate your driveway, giving your home a fresh ‘good as new’ look in just five steps:
Step 1: Preparation and cleaning
This may involve grinding if there is any existing resurfacing or paint on the surface, to ensure the concrete is bare and even. If any fine cracks are present, these will be filled with an epoxy before the excess is ground away. The surface will also be pressure cleaned with water to remove the excess dust. Cleaning with an acid solution may also be required.
Step 2: Priming the surface
A coat of primer will prepare the driveway surface and ensure a successful bond with the base coat.


Step 3: Applying the base coat
Dulux Avista's Resurfacing Base Compound will be prepared and applied. The Colour Oxides are added to the Base Compound to create different colours, with 20 options in the range there is plenty of choice to give your driveway a unique look. The base coat will be screeded to ensure a level surface is achieved.
Step 4: Applying textured coats
The compound is then spray-applied to add texture and achieve a slip resistant finish. A single colour may be used, or an additional colour can be added to create a flecked appearance for extra dimension.
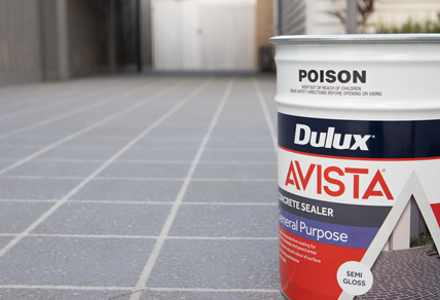
Step 5: Sealing the surface
Finally, the surface will be sealed with two coats of concrete sealer.
And there you have it! The whole process generally takes two days for a simple job and around three days for a more complex job. If you’re after a stencil effect, there are a couple of additional steps that will need to be factored in.

Find out more
Remember, Dulux Avista concrete resurfacing products should be applied by professional applicators. Through Dulux Avista’s Accredited Applicator program, we can help you find an applicator near you.
Find out more about resurfacing your concrete driveway in our ‘What to expect’ video, which demonstrates the application of Dulux Avista products and includes before and after visuals that show how good your resurfaced driveway could look!